In this post you are going to learn how to setup WordPress on your local machine using VVV (Varying Vagrant Vagrants) which is a vagrant box that runs virtual machine on system and setup WordPress.
Table of Contents:
- Why VVV?
- Prerequisite.
- Requirements for Vagrant.
- Installing VVV.
- Post Installation.
- Basic Usage of Vagrant.
- Starting VVV.
- Location of WordPress Files
- Conclusion
- Updates
Why VVV?
These virtual machine setup’s are very helpful for developers because it gives them the environment just like the actual server which keep them away from system level conflicts and everyone in the team have 100% same environment. Dockers and Vagrant are popular for setting up virtual machines for developers and the reason of choosing VVV (vagrant based) is because it’s a pre-configured vagrant instance of WordPress which will keep you away from setting bash scripts for vagrant and give you plug and play functionality.
Prerequisite
- Familiarity with command line tools (terminal, bash, command prompt etc).
Requirements for Vagrant
For VVV to work you must have Vagrant and Virtual Box installed on your system.
- Download and install Virtual Box for your OS.
- Download and install Vagrant for your OS and confirm it by running vagrant -v on terminal. It should show you version of vagrant installed on your system.

- Install vagrant-hostsupdater plugin via following command.
vagrant plugin install vagrant-hostsupdaterVagrant Hosts Updater plugin is used to setup your local domain like http://test.local which will keep you free from switching directories on address bar. VVV gives you the functionality of setting multiple WordPress sites and you can access each of them via the url of your own choice. We will discuss this custom setup in Post Installation method.
Installing VVV
The recommended method of installing vagrant is via Git. Run following command to clone the vvv repo to ~/vagrant-local folder which will be made inside your system user directory..
git clone -b master git://github.com/Varying-Vagrant-Vagrants/VVV.git ~/vagrant-localPost Installation
Inside your vagrant-local folder run vagrant status so that we can edit the configuration file which is present on config/config.yml. First let’s see what’s inside config.yml. There are three sections by default which are:
- sites – this manages number of sites and their hosts.
- utilities – for core utility packages needed.
- vm_configs – for configuration of virtual machine setup.
Custom site setup only need to change the sites key and other two will remain the same. By default VVV configs have 3 sites (2 standard WP installations and 1 for WP Core trunk dev setup) but this can be change by editing the sites key inside config.yml. If you want to configure only one site let’s suppose vip with host https://vip.wordpress.test then our sites key will look like this.
sites:

  vip:
    description: "A standard WP install, useful for building plugins, testing things, etc"
    repo: https://github.com/Varying-Vagrant-Vagrants/custom-site-template.git
    hosts:
      - vip.wordpress.test
The above command represent following things:
- vip – name of your folder inside ~/vagrant-local/www which will contain your site related files including WordPress.
- description – represent description of your WordPress site.
- repo – the repo that represent which virtual machine you have to install and which scripts have to setup on VVV. This is the heart of your VVV setup. In most case you don’t need to change this.
- hosts – represent url’s which you can access from you local machines. You can add multiple url’s with the same site.
Basic Usage of Vagrant
Vagrant provides a lot of commands but to work with VVV you only need these commands:
- vagrant up – Use to turn the virtual machine on but on first run it will took long as it will setup our virtual machine which can take up to 20 minutes.
- vagrant halt – To turn off the virtual machine.
- vagrant reload – This will restart the virtual machine which is actually a combination of above commands.
- vagrant destroy – This will destroy our virtual machine.
- vagrant ssh – If you want to login into your virtual machine.
- vagrant reload –provision – Only needed if you make changes in config.yml.
These commands are only valid inside the folder that have a vagrant instance in our case it is ~/vagrant-local.
Starting VVV
Everything is setup now and you also got familiar with basic vagrant commands. Let’s start your VVV setup using following commands.
cd ~/vagrant-local
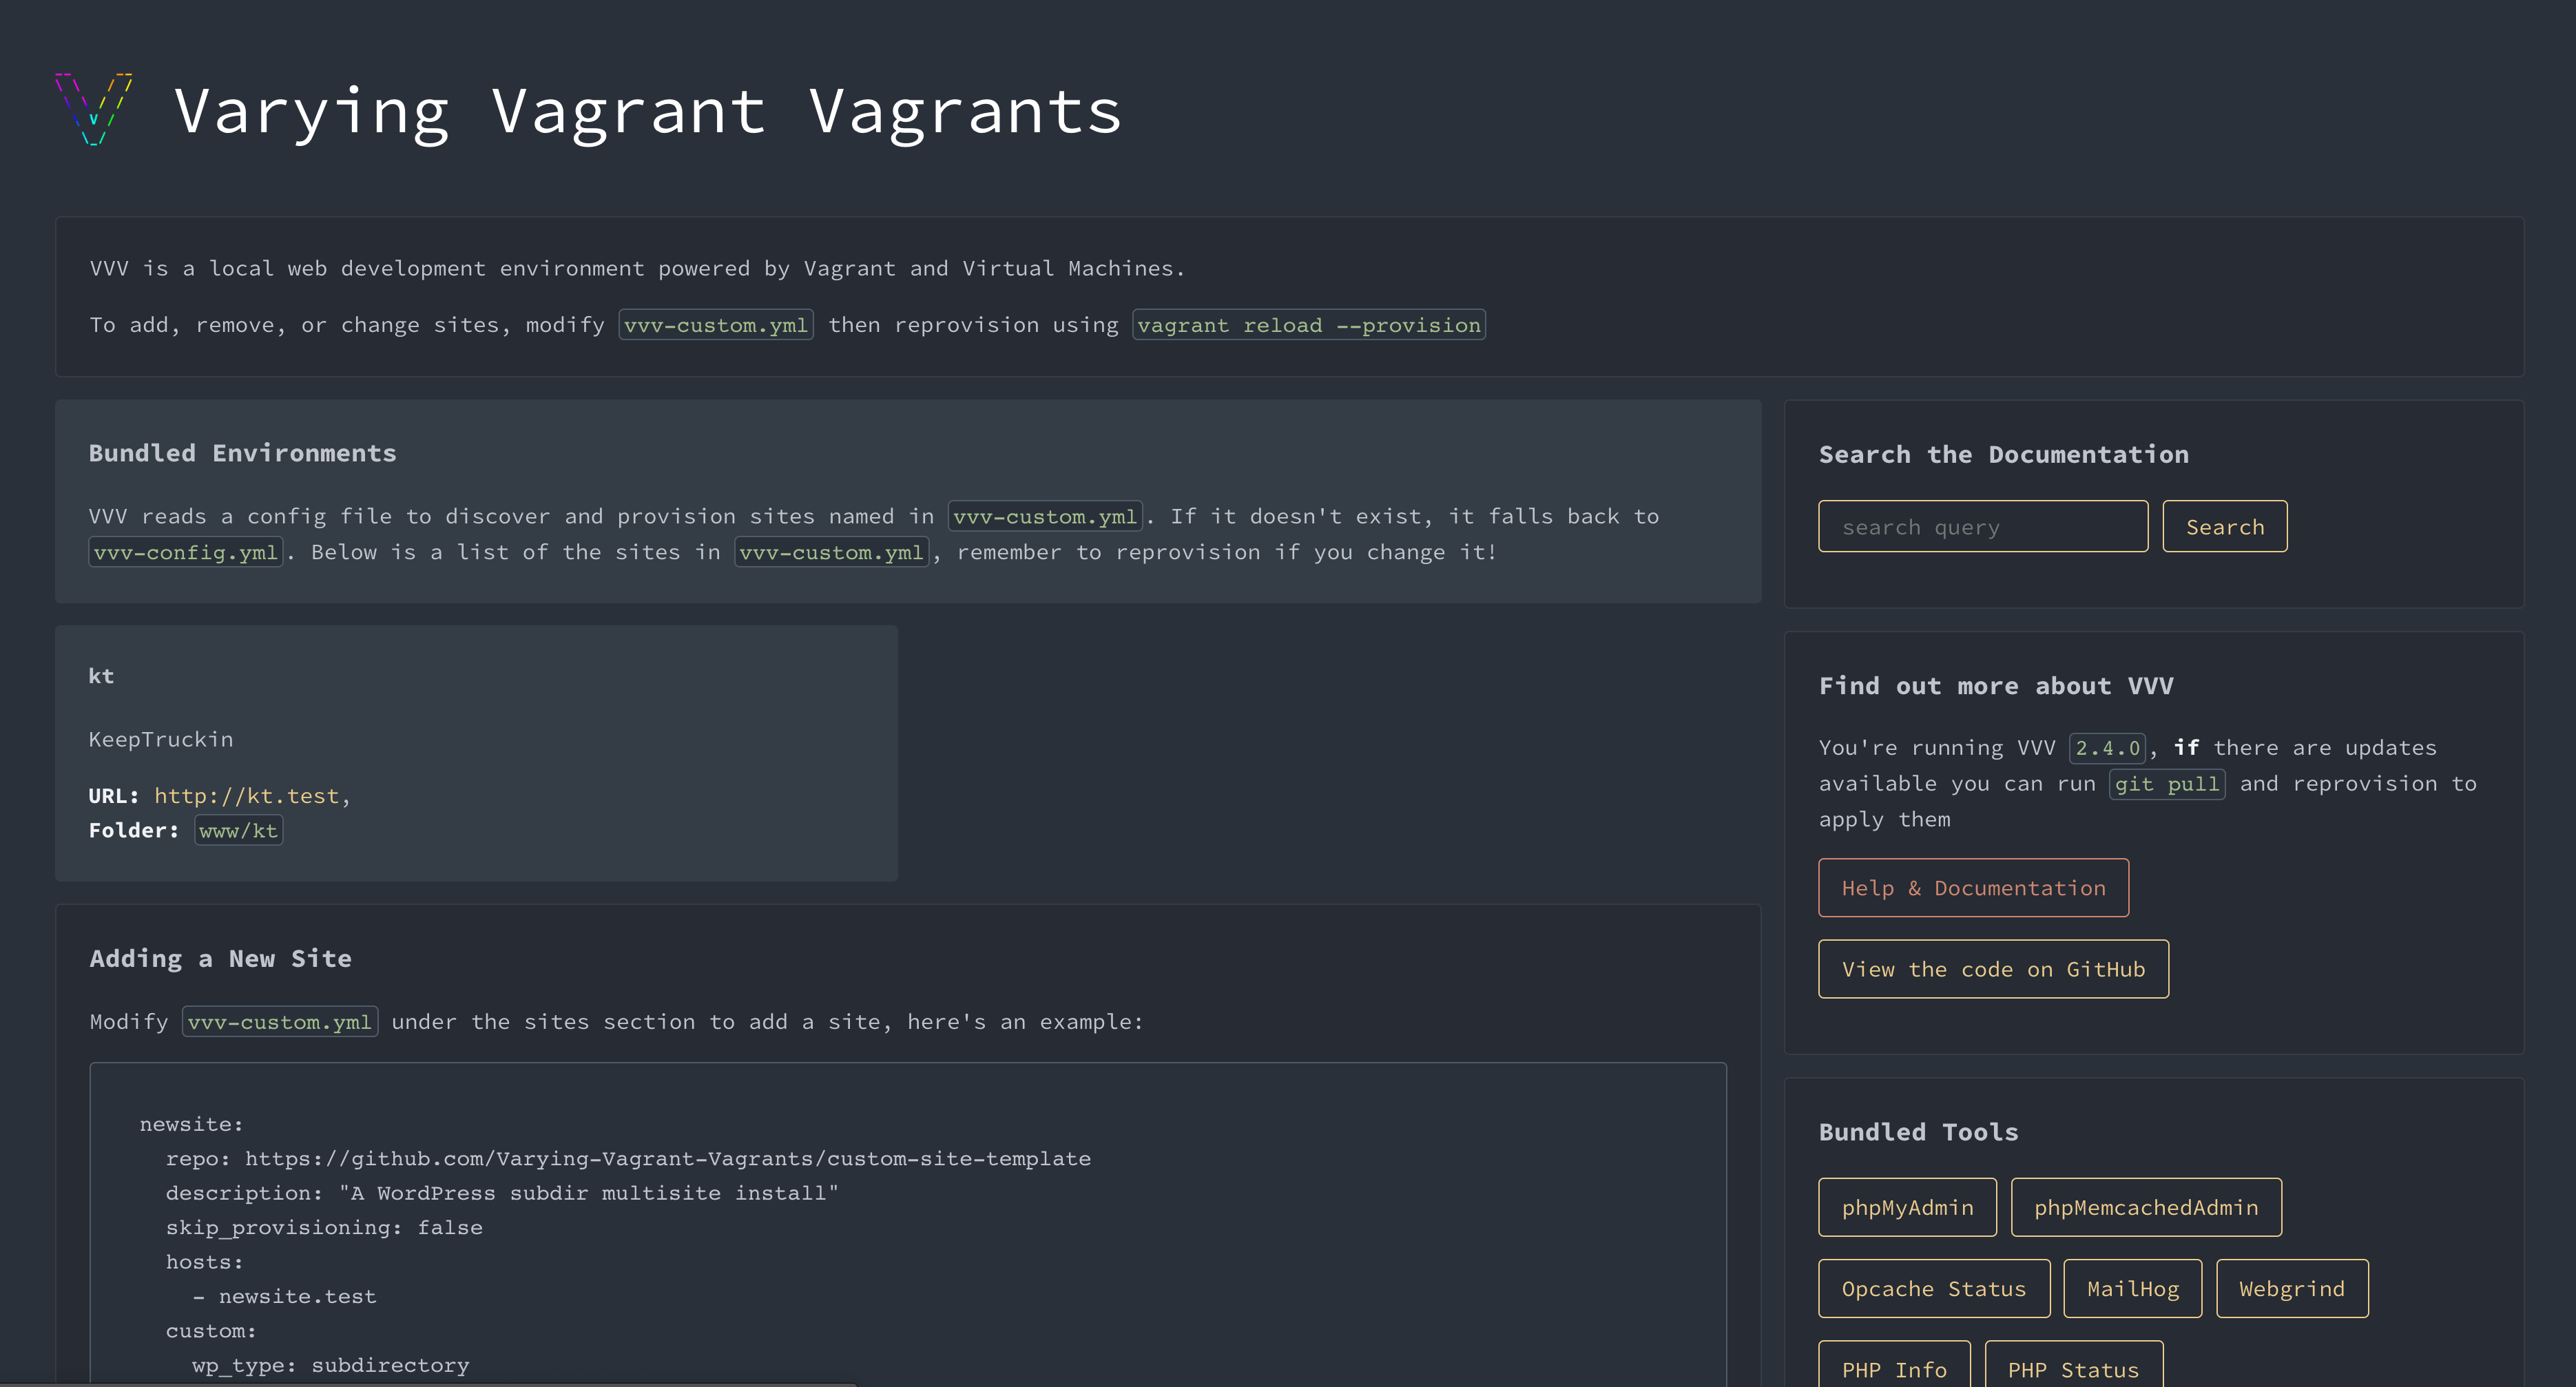
vagrant upOn first start it will start downloading your virtual machine and setting up scripts which can take some time finish. You’ll need to enter your password during the step which is needed for setting up hosts. After installation all of your hosts mentioned in config/config.yml will be up. You can view all of your sites and their hosts at VVV Dashboard on http://vvv.test.

Note:
- URL on above dashboard will take you to the respective website.
- You can access admin dashboard of each website with username > admin and password > password (get more info of credentials from VVV default credentials page)
- After each system restart you will need to run vagrant up inside your directory to wake up your virtual machine.
- If your host doesn’t respond then run vagrant reload and try again.
Location of WordPress Files?
VVV setup is completed but now the question arise where are your actual WordPress files because as a developer you need to access them for making changes. In our case we have installed our setup in ~/vagrant-local with only one site vip so we can found WordPress files of vip in ~/vagrant-local/www/vip/public_html.
Keep in mind that ~/vagrant-local/www contains all the folder representing sites which we have defined in config/config.yml during Post Installation step.
Conclusion
This post only covers one part of VVV which is installation and the purpose of writing this post is to give a more detailed info than the actual VVV documentation. If you want to learn more about VVV then have a look at their documentation.
In case you face any problem during the setup then let me know in the comments.